My experience as a model railroader dealing with waterslide decals was valuable today when applying the Velocals to my Mirage. I was warned on the instructions that the adhesive was very aggressive, and if you tried to apply them as packaged, you would have one shot at aligning them, and that’s it. Considering that the decals on the top tube consisted of a long, thin arrow stripe, the idea of a single attempt at getting the graphic straight didn’t sound so good.
A suggested method of application consisted of taking off the backing paper and spraying the adhesive surface with a mixture of water and Dawn dishwashing liquid. I thought of buying a generic liquid, but I feared that the manufacturer found that something about that particular brand helped delay the setup of the adhesive long enough to allow repositioning of the decals. I decided to “splurge” on the few pennies more, and follow the directions precisely.
The instructions listed a few techniques for centering and alignment, but I’ve always had a knack for eye-balling things level. I don’t know if it’s my artistic ability or my experience with architectural drawing, but I’ve often had the best results just adjusting until it “looks straight”. I certainly wasn’t going to draw any kind of guidelines on my frame!
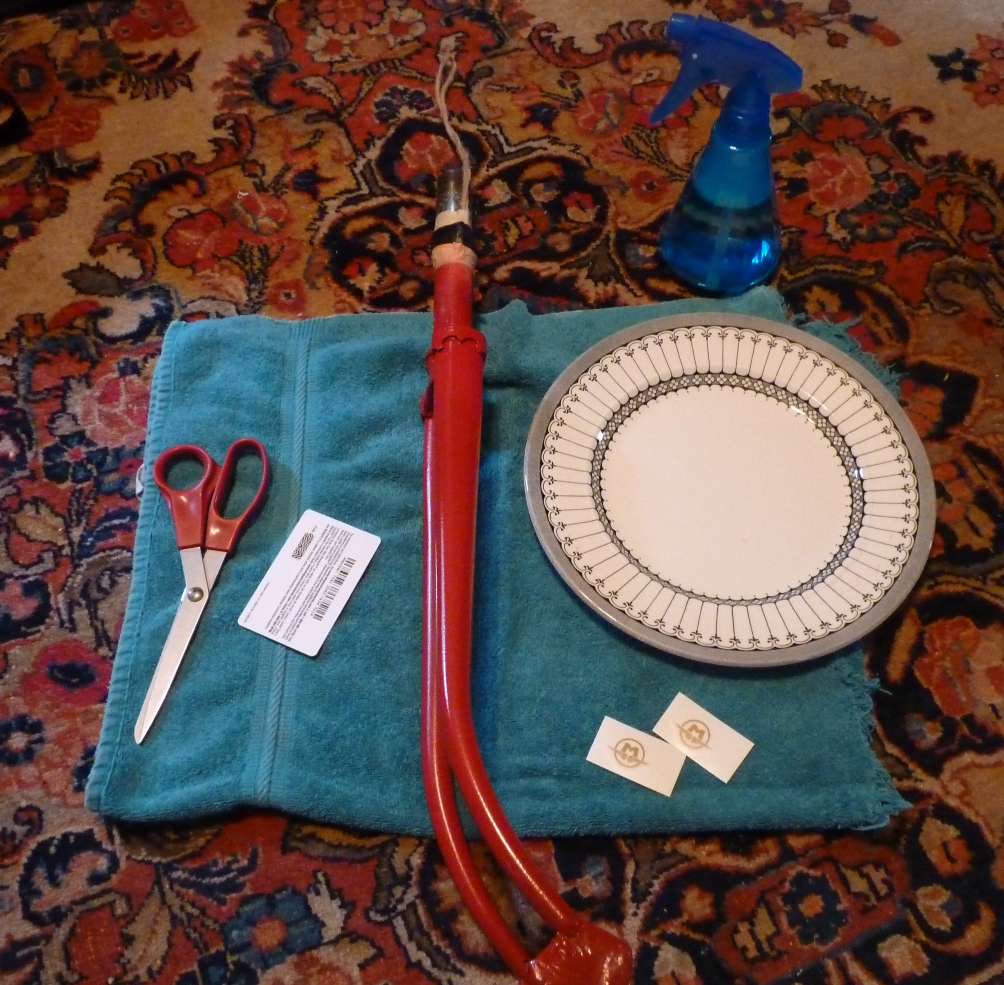
My tool set: a spray bottle full of the soap and water mixture, scissors, an old gift card, a plate on which to spray the decals and a towel over which to spray the fork and frame
The transparent carrier film on the face of the decal allowed me to move the logos around and get an idea where I wanted them. Once I was satisfied with location, I used an old plastic gift card to squeegee out the water and air bubbles, and dabbed the surface dry with a paper towel. Unfortunately the curve of the tubing kept causing the somewhat rigid carrier film to curl the decals away from the paint. The decals would need an hour to dry before I could peel the film away, and I didn’t want to sit there holding each decal around its respective tube that long!

I thought of securing the decals around the tube with blue painter’s tape, but I didn’t want it to stick to the carrier film and run the risk of pulling something out of position. Looking ahead, I also needed a method that wouldn’t leave adhesive residue on any of the decals that would eventually be on the opposite side of the one I was working on. I finally came up with the idea of applying the tape in reverse (adhesive side up), looping completely around the tube and decal. I needed an occasional third hand from son Colin to break off pieces while I held something particularly stubborn in place, but the technique worked perfectly.

After an hour, I removed the carrier film and found there were still some wet spots, but the decals were stuck in place well enough that I could just dab the water away. The gold decals are subtle on the red fork, but look fantastic on the white top and down tubes. It was difficult to a get a really good photo of everything with the flash reflecting off of the gold.

Note that the lugs and rear drops are still masked - when the weather improves I'll be able to complete the clear coat spray, and I’ll be onto the lug “chroming” process.
No comments :
Post a Comment